Build a Jekyll site
Github action to build static Site
Build a Jekyll site and create a release with the built site as an asset.
This workflow is triggered on push events to the default branch and can also be manually triggered.
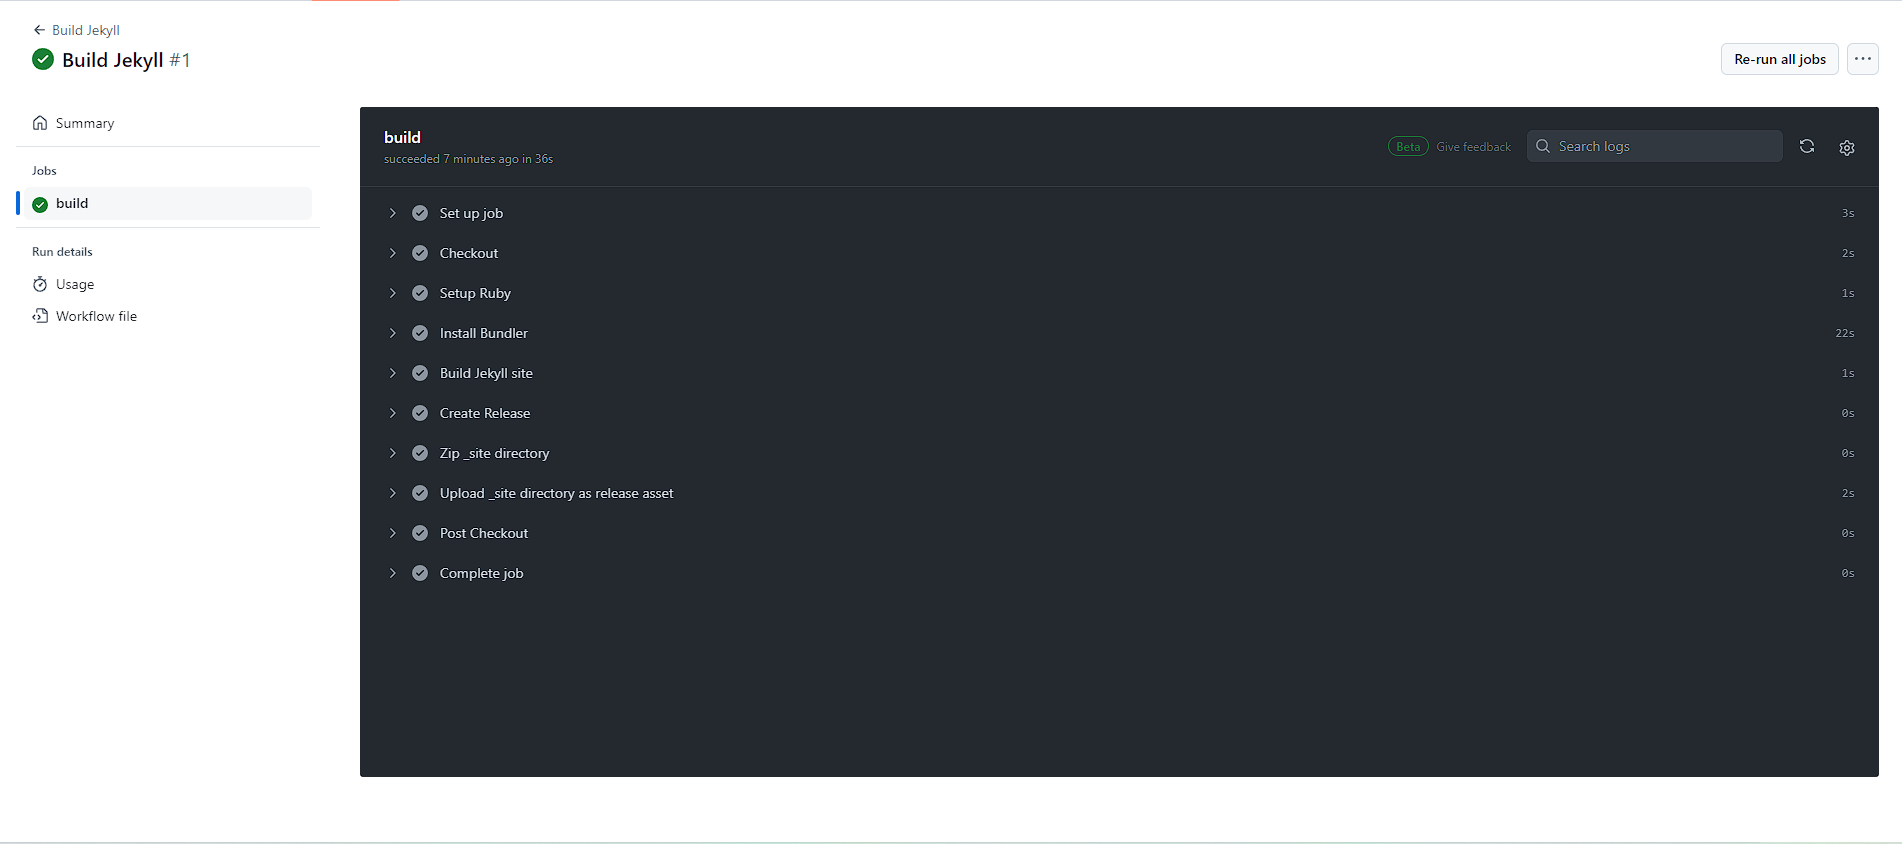
Build
Release
Jekyll-build.yml
name: Build Jekyll

on:
  push:
    branches:
      - $default-branch
  workflow_dispatch:

jobs:
  build:
    runs-on: ubuntu-latest
    steps:
      - name: Checkout
        uses: actions/checkout@v4

      - name: Setup Ruby
        uses: ruby/setup-ruby@v1
        with:
          ruby-version: "3.1"

      - name: Install Bundler
        run: |
          gem install bundler
          bundle install

      - name: Build Jekyll site
        run: |
          JEKYLL_ENV=production bundle exec jekyll build

      - name: Create Release
        id: create_release
        uses: actions/[email protected]
        env:
          GITHUB_TOKEN:  ${{ secrets.GITHUB_TOKEN }}
        with:
          tag_name:  v${{ github.run_number }}
          release_name:  Release ${{ github.run_number }}

      - name: Zip _site directory
        run: zip -r _site.zip _site

      - name: Upload _site directory as release asset
        uses: actions/upload-release-asset@v1
        env:
          GITHUB_TOKEN:  ${{ secrets.GITHUB_TOKEN }}
        with:
          upload_url:  ${{ steps.create_release.outputs.upload_url }}
          asset_path: ./_site.zip
          asset_name: _site.zip
          asset_content_type: application/zip
GitHub Actions workflow file is used to build a Jekyll site and create a release with the built site as an asset.
-
Checkout: This step checks out your repository so that your workflow can access the code.
-
Setup Ruby: This step sets up Ruby environment using the
setup-rubyaction, specifying Ruby version 3.1. -
Install Bundler: This step installs Bundler, a Ruby gem manager, and then installs dependencies for your Jekyll project using
bundle install. -
Build Jekyll site: This step builds your Jekyll site in production mode using the command
bundle exec jekyll build. It sets the environment variableJEKYLL_ENVtoproductionwhich is often used to configure Jekyll for different environments. -
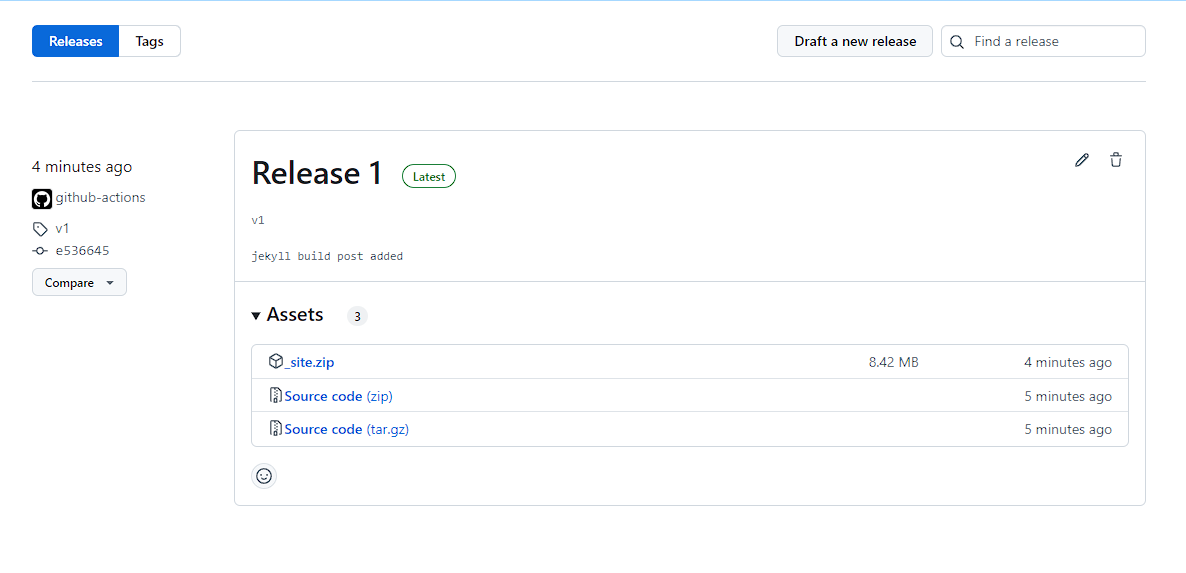
Create Release: This step creates a GitHub release. It uses the
create-releaseaction, specifying the tag name asv${{ github.run_number }}and the release name asRelease ${{ github.run_number }}. -
Zip _site directory: This step zips the
_sitedirectory where Jekyll generates the site content. -
Upload _site directory as release asset: This step uploads the zipped
_sitedirectory as a release asset using theupload-release-assetaction. It specifies the upload URL from the previous step and provides the asset path, name, and content type.
Overall, this workflow automates the process of building a Jekyll site, creating a release, and uploading the built site as an asset to the release on GitHub.
More info ChatGPT Link